Make a 'Quadrachrome' Filter for Your Diana F+ Out of Unused Flash Gels
15 76Do you have a bunch of Diana F+ flash gels sitting around unused? Well, here’s an easy tip on how to turn them into rainbow gold…and start capturing the world in glorious quadrachrome!

I know, I know — there have been quite a few tipsters recently on how to create ‘rainbow’ filters, but this one is a little bit different, and really easy to follow. Besides, with the European summer being a total washout so far this year, we need all the added colour we can get in our shots, right?
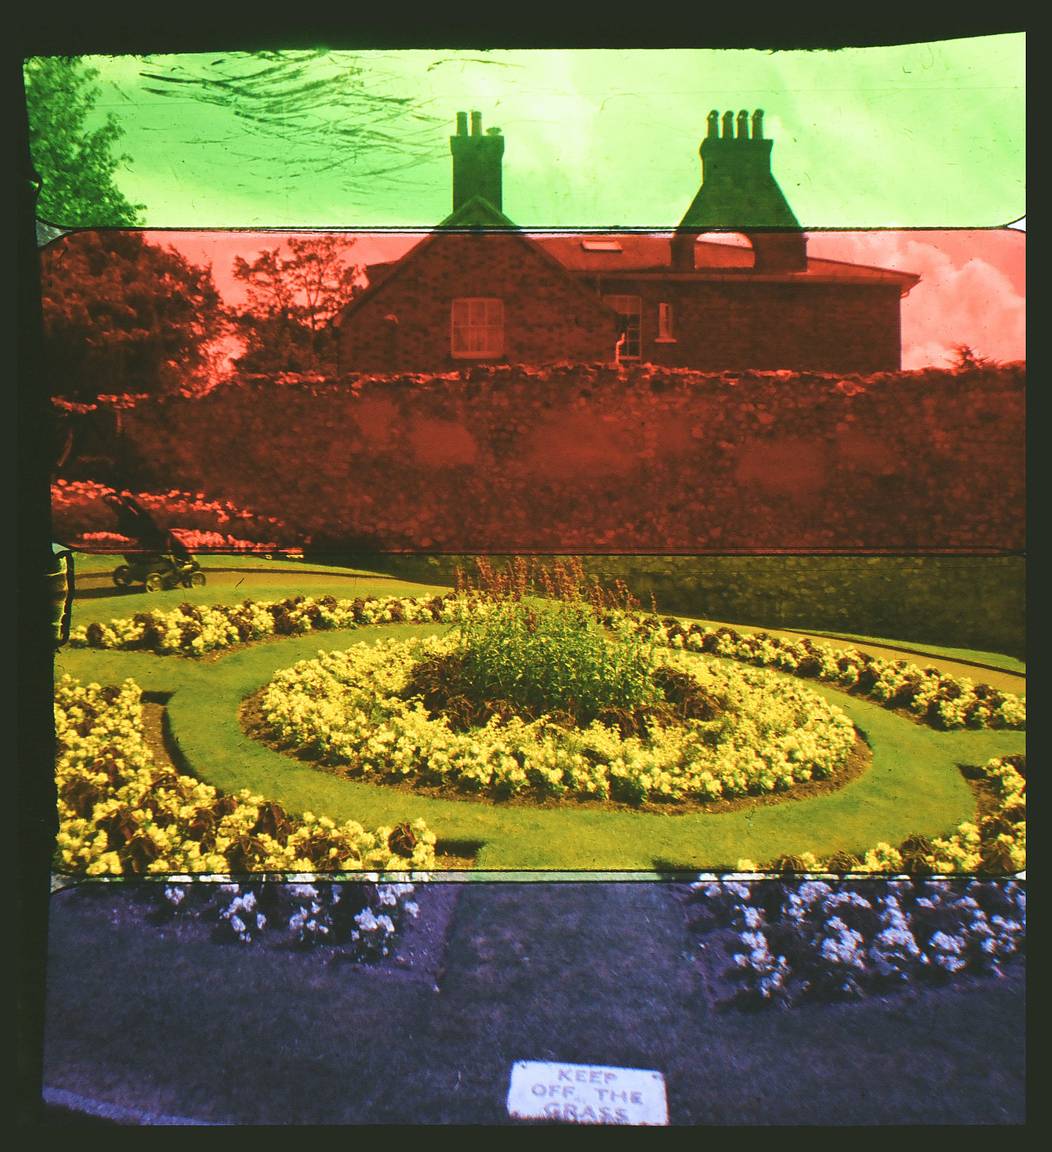
Before jumping in with the instructions, here are some of the ‘quadrachromes’ I made using this filter, to give you an idea of what kind of shots you can expect to get with it:


Still interested? OK, good, so here’s how to make your own quadrachrome filter:
Step 1: Gather the essentials

As you can see from the shot above, all the materials you’ll need to create the filter fit on a single sheet of A4 paper. Simple, no?
In detail, here’s what you need:
- Assortment of colored flash gels. A pack of these normally comes with the Diana F+ Flash, but maybe you have different ones you can use instead, or you could simply cut some out of colored cellophane.
- 4.2cm x 4.2cm mask. This is the black, plastic frame that sits inside the back of your Diana F+. If you no longer have this (or never got one), you could easily innovate with a piece of appropriately cut-out cardboard instead.
- A piece of thin, stiff card. I used an old playing card, but use whatever you have lying around.
- Scissors, glue and a pen/pencil.
Step 2: Cut the piece of card to make a filter frame that will fit into the mask
Using the card, you need to make a frame to glue the flash gels onto. This frame will then sit inside the mask. I don’t have a shot to demonstrate how to make the filter frame, but the diagram below should help.

First, place the mask on top of the card, with the mask’s flat side (marked ‘4.2X4.2’) facing downwards, then use a pen to trace the inner perimeter of the mask onto the card. Now, remove the mask and cut along the two lines on the card that will be the left and right edges of the filter frame. Then, cut across the card about 4mm above the top line you drew, and cut across again about 3mm below the bottom line you drew. These will be the top and bottom edges of your filter frame, and the extra millimetres are so that there’s enough card to glue the frame to the little ‘lips’ at the top and bottom of the inner side of the mask.
Finally, cut out the inner part of the card, cutting along the original top and bottom lines you drew, but leaving an area of about 2mm inside the original left and right lines you drew (these will be the left and right sides of your filter frame, onto which you will glue the gels).
Step 3: Glue the gels onto your filter frame
Now, select four of the flash gels (any combination of colours you like) and place them horizontally across the frame you just made. Once you’re happy with your choice of gels and their arrangement, carefully glue the ends of each one to the left and right sides of the filter frame. You should now have something that looks like this:

Step 4: Glue the filter frame inside the mask
Once the glue on the gels has dried, apply glue into the four corners of the inside of the 4.2cm x 4.2cm mask, then fit your filter inside this. Note, apply just a spot of glue in each corner, as you may want to remove the filter after using it a few times, so it shouldn’t be stuck in too permanently.
It is important to remember at this stage that whatever colour you wish to appear at the top of your shots goes at the bottom side of the mask, as what you see through the viewfinder is recorded upside-down on the film.
This is what the assembled filter and mask should look like now:

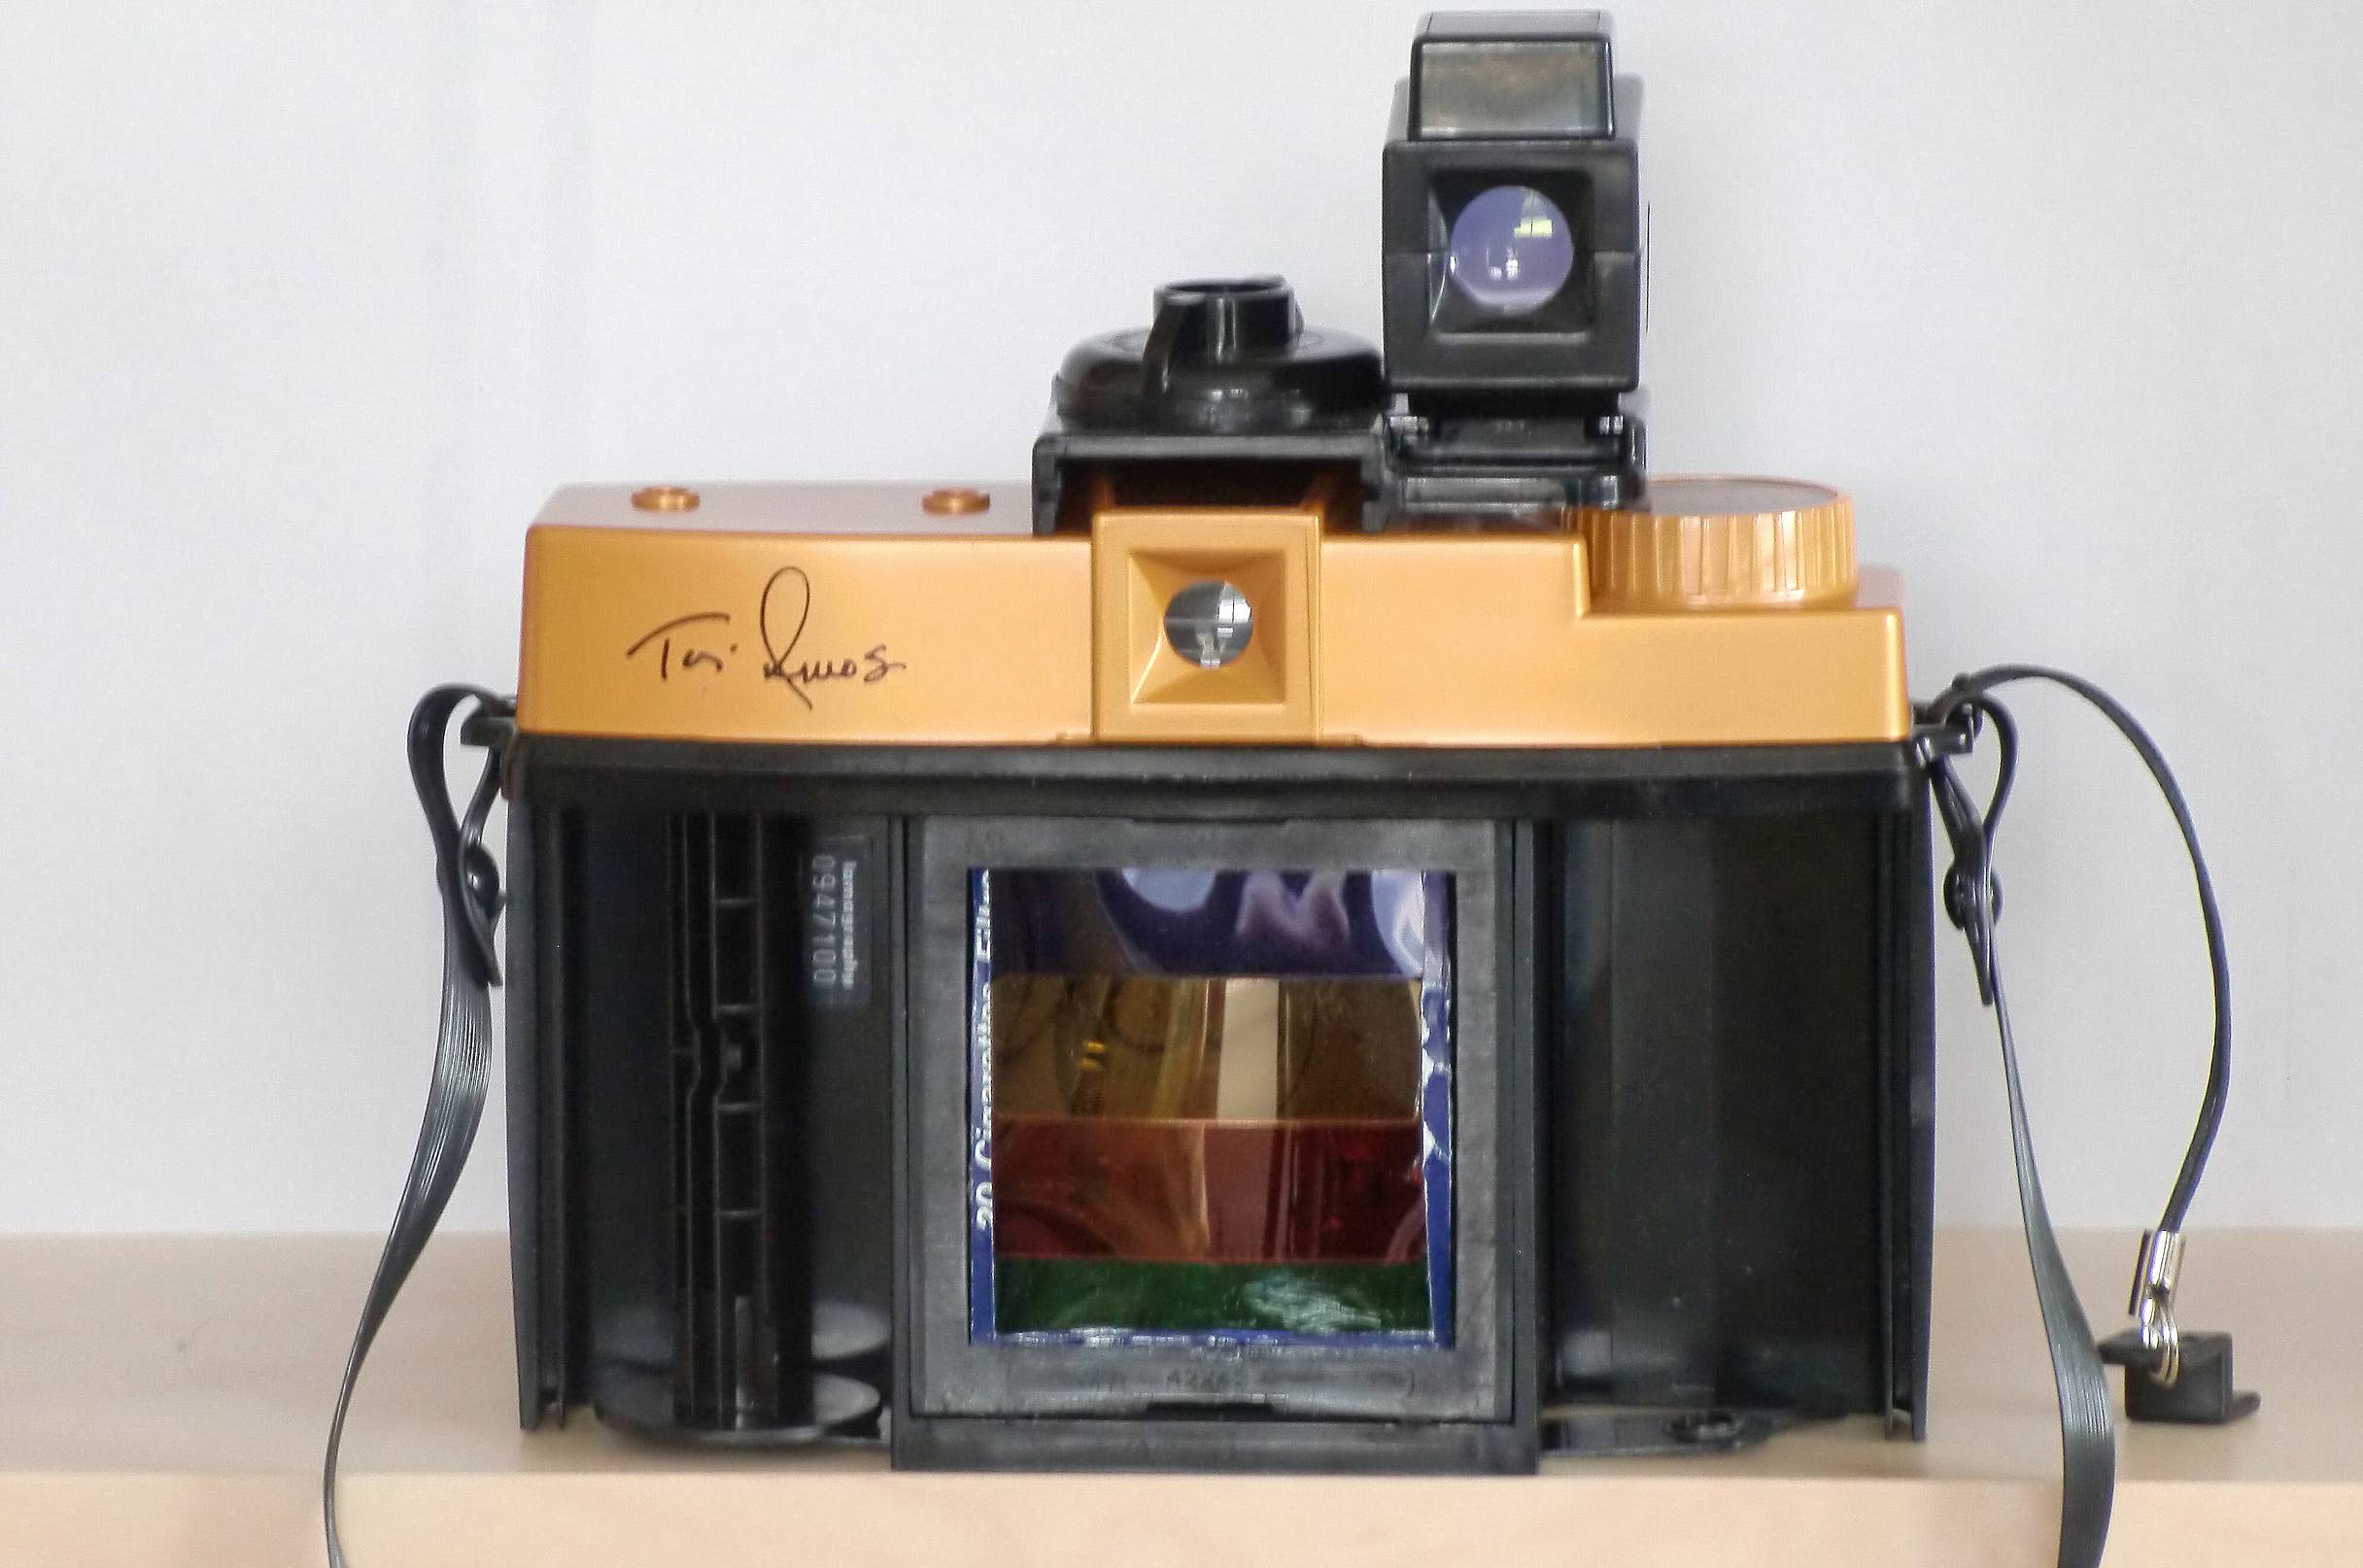
Step 5: Fit the mask inside your Diana F+
The last step is to place the mask/filter combo inside the back of your Diana F+. Just follow the usual procedure, snapping the mask carefully into the slots provided inside the camera. Here’s the mask fitted into place:
Note that with this mask in place you get 16 shots on a 120 roll film, which is an added bonus if, like me, you’re used to shooting without a mask and getting only 12 shots!
OK, so that’s about all there is to know about how to make this fun filter. If you’d like to see more sample shots, I have a few in my Quadrachromes album, and my good friend @gauthierdumonde made a cool album of shots with his own version of this filter here.
If you decide to try this filter out yourself, make sure you post a link to your results in the comments box below. Thanks a lot, Lomo amigos, and remember: life is not monochrome, it’s quadrachrome!
written by buckshot on 2012-07-19 #gear #tutorials #diy #rainbow #colour #mask #filter #homemade #tipster #lomography #diana-f #handicraft #buckshot #flash-gels #quadrachrome


15 Comments