Holga Pinholes
4 25A long-time fan of plastic cameras, Argentinean writer and photographer Lorraine Healy is the author of “Tricks With A Plastic Wonder,” a manual for achieving better results with a Holga camera. In this article, Healy returns to her ancient pinhole Holga and adds a 35mm pinhole to her Holga collection.

Years ago, before the Holga Corp. realized there was a market for more than the plain variety Holga S, I had one of my cameras modified by Randy Smith of Holgamods. Randy took the lens out and replaced it with a thin metal sheet with a pinhole in it, with the lens cap (which I had to remind myself constantly NOT to throw away!) acting as the pinhole “shutter.” Randy mailed the camera back with a note saying the pinhole was around f140—more or less.
I never shot it much. I did not really understand pinholes, I was convinced they were only meant to be black and white and the exposures had to be hours long. When I was writing my e-book on the Holga camera, I figured I needed to at least practice a bit and provide my potential readers with a rudimentary guide to using a 120 Holga pinhole. So I did, put the results in the book and quickly moved on to the next topic.

I measured the exposure with a Canon 5D at ISO 400 for 1/100 sec and an f/8 aperture, mimicking the Holga. It gave me a 1/30 second exposure, so I started at the most logical point with a pinhole—1 second—which is about as fast as you can get the cap off the pinhole and then put it back on.
Shot the entire roll at the following exposure:
- 1 sec approx.
- 2.5 sec
- 4+ sec
- 9 sec
- 17 sec
- 30 sec
- 1 minute
- 1 ½ min
- 2 min
- 4 min
- 8 min
- 15 min
It depends on personal tastes and what you are going for, but clearly, the right exposures are between 1 second (01, upper left) and 8 to 9 seconds (04, first of the second row).
But looking at the work of some pinhole masters, like @oleman and Oregon photographer Zeb Andrews, made me want to truly learn the intricacies of pinhole photography. I have ordered a RealitySoSubtle 6x6 camera from James Guerin in France which should arrive any moment. I bought a 35mm Holga pinhole and dusted off my 120 pinhole made by Randy. And I have been shooting and taking notes, studying the results and taking more notes. One of the things I have noticed is that I like the results better when I use slide film, not that color negative is anything to scoff about.


The 35mm pinhole Holga, a latter addition to the line of plastic beauties, has the great advantage of using the traditional threaded shutter release, which allows for better control of timing and less camera movement, as opposed to the more imprecise method of taking the lens cap off and putting it back on at the end of the exposure—which also adds the potential of moving the camera while putting the cap back on.


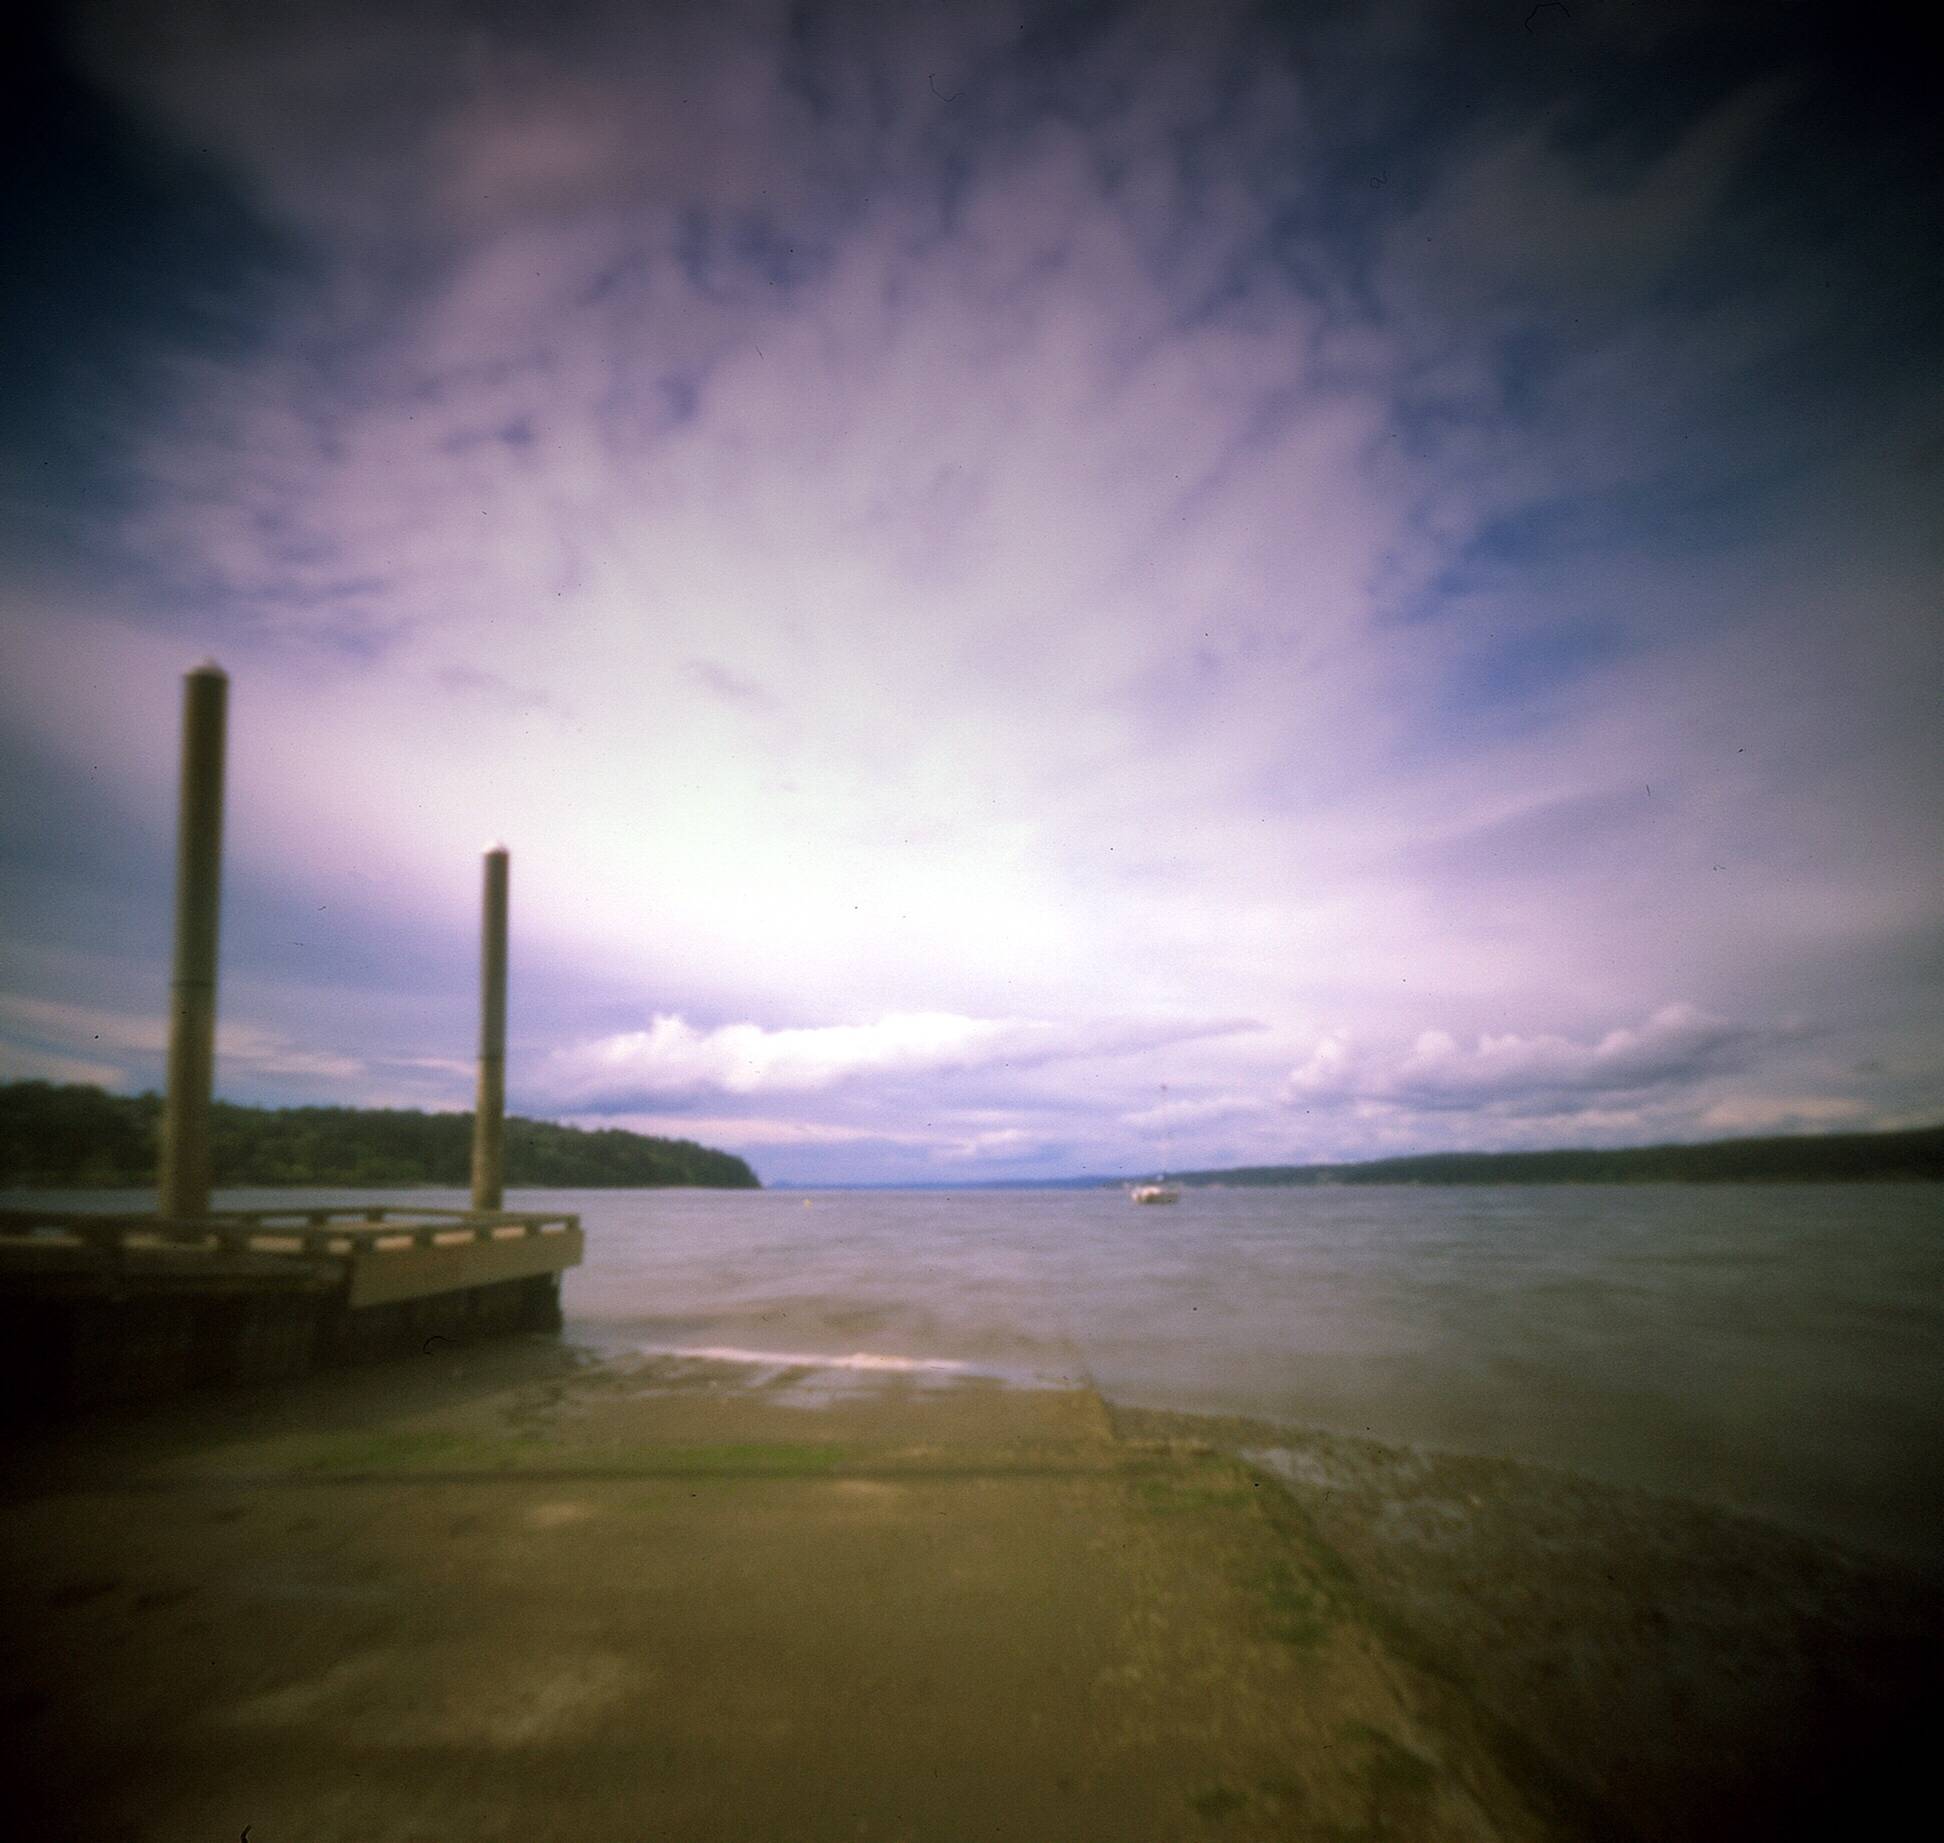
But I think the biggest discovery for me (strictly thanks to the work of Zeb Andrews and @oleman) has been the idea of using color in pinholes. I had no idea it could work so beautifully and look so stunning. I’m still very much in the learning process, but I am happy with these results.
Another learning: it is fine to convert color pinholes to B&W using an application like Silver Efex.

I will keep trying different films, different exposures, taking notes as best I can. But let me share one key piece of advice: When trying to concentrate on shooting pinholes, do not take your dog with you! Yes, moving things are supposed to “ghost out” in long exposure pinholes, but below you can see how Phoebe really did not fully disappear from my images, even though they are several seconds long.


Lorraine Healy (@lorrainehealy) is an Argentinean writer and photographer living in the Pacific Northwest. A long-time fan of plastic cameras and she is the author of “Tricks With A Plastic Wonder,” a manual for achieving better results with a Holga camera, available as an eBook from Amazon.com.
written by Lorraine Healy on 2017-06-28 #gear #pinhole #pinhole-photography #black-and-white #35mm #color #holga #120-holgamod


4 Comments